X
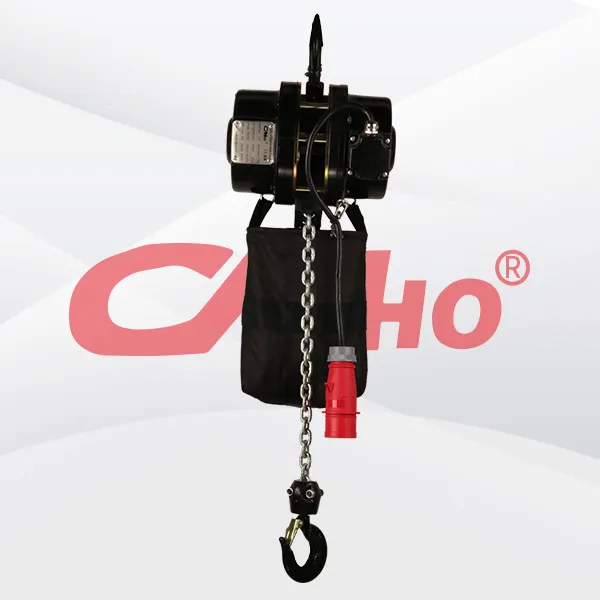
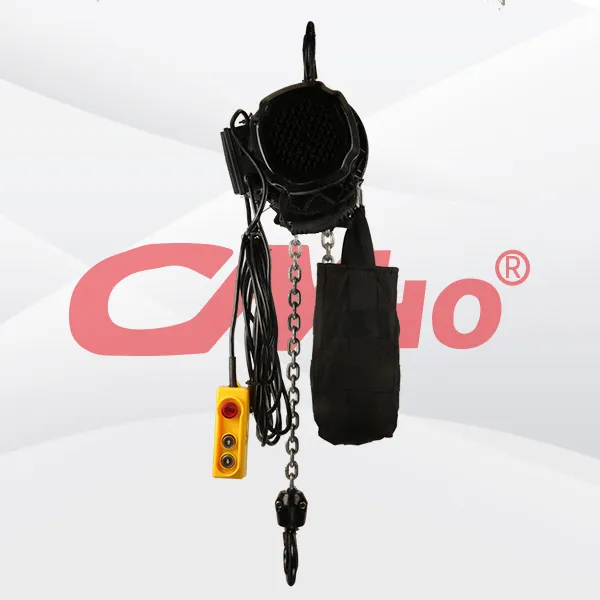
Electric hoists represent their own machinery, strength, and toughness, while the stage is elegant, flowing, and soft, with conflicts and collisions between the two.
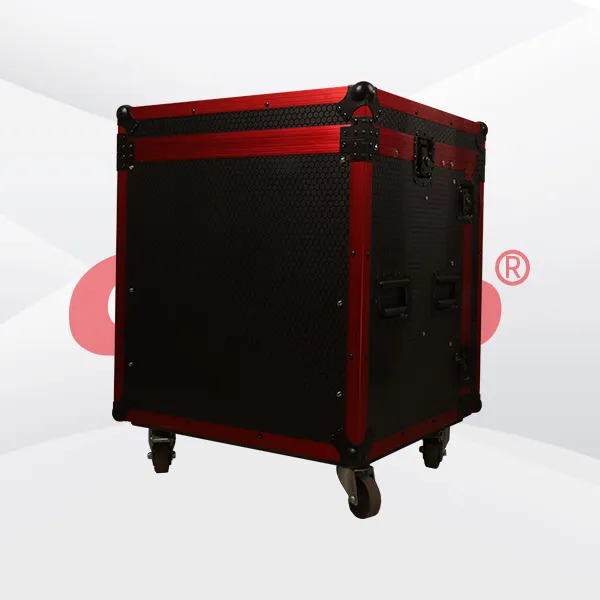
The stage electric hoist is equipped with an intelligent remote control system. With precise operation, it can easily create a gorgeous stage for you, shining brightly.
Category : Controller
Get a Quote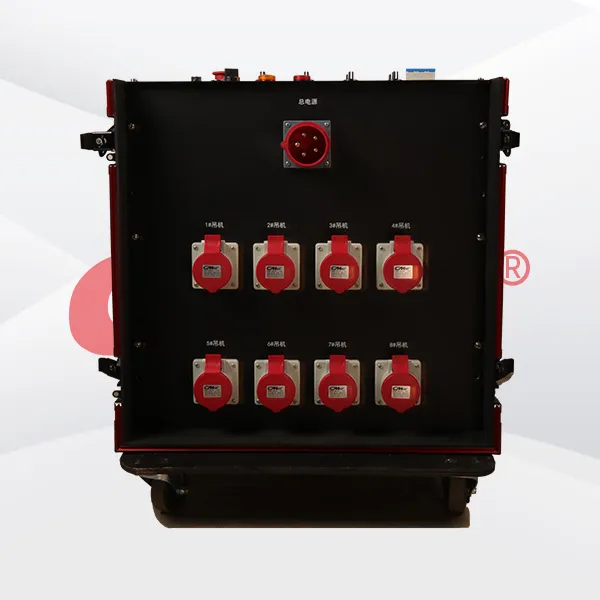
Product Details
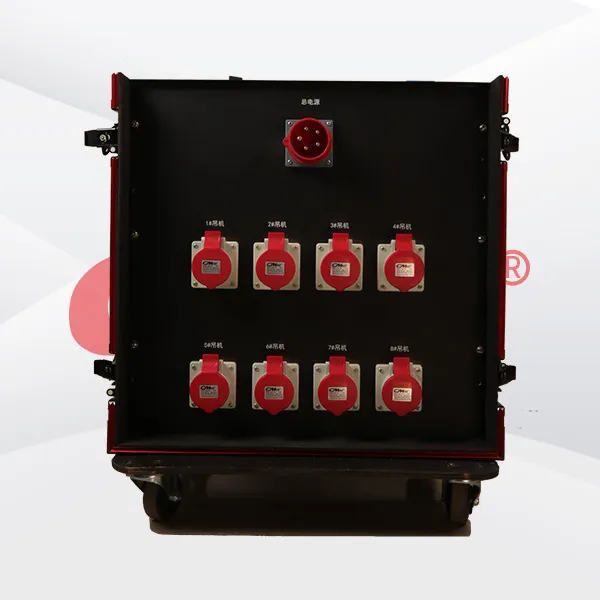
The connection between the stage electric hoist and the control box generally has the following specific steps: Preparation Work 1. **Cut off the power supply**: Ensure that before the connection operation, the power supplies of both the control box and the stage electric hoist are cut off to avoid the risk of electric shock. Hang a signboard saying "Do not switch on, someone is working". 2. **Inspect the equipment**: Carefully check whether the appearance of the electric hoist and the control box is damaged, whether the parts are complete, and whether there are any abnormal conditions such as loose or burned - out electrical components. At the same time, check whether components such as the motor and limit switches of the electric hoist are working properly. 3. **Prepare tools**: Get ready the necessary tools, such as screwdrivers, wire strippers, crimping pliers, multimeters, etc. 4. **Familiarize with the drawings**: Read carefully the installation instructions and electrical wiring diagrams of the electric hoist and the control box to understand the functions of each wiring point and the connection requirements. Connection and Wiring 1. **Introduce the power cord**: Introduce the main power cable from the power access point into the control box. Usually, the power cable is connected to the incoming - line terminals of the circuit breaker or knife - switch inside the control box. Pay attention to connecting according to the correct phase sequence. Generally, it is a three - phase five - wire system, that is, three phase lines (L1, L2, L3), one neutral line (N), and one ground line (PE). After connection, tighten the screws to ensure good contact. 2. **Connect the power line between the control box and the electric hoist**: Lead out the power cable from the output end of the control box and connect it to the motor connection terminals of the electric hoist. Generally, the motor of the electric hoist has three power lines, which are connected to the three phase lines output from the control box correspondingly. When connecting, note that the cross - sectional area of the cable should meet the power requirements of the electric hoist to ensure that it can carry the working current of the motor. At the same time, use crimping pliers to firmly crimp the cable lugs, then install them on the motor terminal posts and tighten the nuts. 3. **Connect the limit - switch wires**: The electric hoist is usually equipped with upper and lower limit switches to limit the lifting and lowering strokes of the hoist. Lead out the signal wires of the limit switches from the electric hoist and connect them to the corresponding input terminals of the limit switches inside the control box. Generally, a limit switch has two wires, one is the common wire and the other is the signal wire. Connect them correctly according to the wiring diagram. 4. **Connect the control signal wires**: If a wired control method is used between the control box and the electric hoist, the signal wires of the control button box need to be connected to the corresponding input terminals of the control box. If it is a wireless remote - control method, the signal wires of the remote - control receiver need to be connected to the corresponding interface inside the control box. The control signal wires are generally thin. When connecting, be careful not to damage the wires and ensure good contact. 5. **Connect the ground wire**: Connect the metal casings of the control box and the electric hoist to the grounding electrode or grounding busbar through the ground wire to ensure reliable grounding. The grounding resistance should meet the safety standard, generally not more than 4 ohms. The cross - sectional area of the ground wire should be not less than half of the cross - sectional area of the phase wire in the power cord. Inspection and Testing 1. **Line inspection**: After the connection is completed, carefully check whether all the connection lines are correct, and whether there are any situations such as missing connections, wrong connections, or loose connections. Check whether there are any potential safety hazards such as damaged or exposed wires. If there are problems, rectify them in a timely manner. 2. **Insulation test**: Use a multimeter or an insulation resistance tester to test the insulation resistance of the connected lines. Measure the insulation resistance between the power line and the ground line, between the power line and the control line, and between each phase respectively. The insulation resistance should be not less than 0.5 megohm.
3. **Power - on test**: After confirming that the line connection is correct and the insulation is good, switch on the power for testing. First, conduct an no - load test. Operate the buttons on the control box or the remote control, and observe whether the lifting, lowering, left - right movement and other actions of the electric hoist are normal, whether the limit switches can act accurately, and whether there are any abnormal noises, vibrations, etc. during the operation of the electric hoist. Then conduct a load test. Gradually increase the load weight and check the operation of the electric hoist and its control performance again to ensure that it can also work normally under load conditions.

RELATED PRODUCTS .
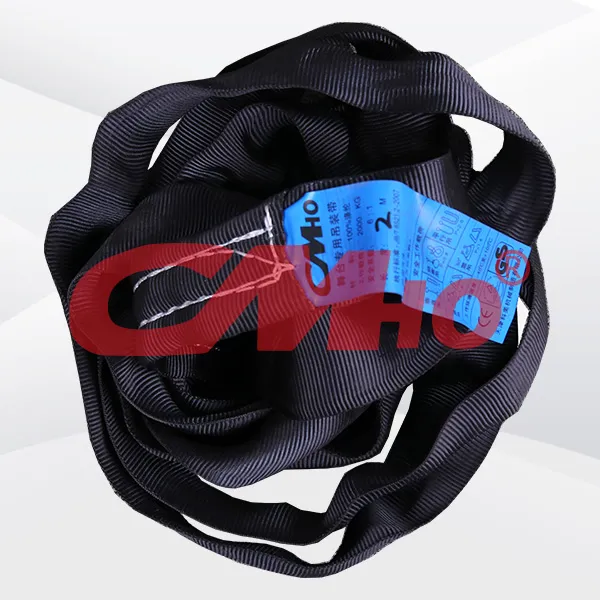
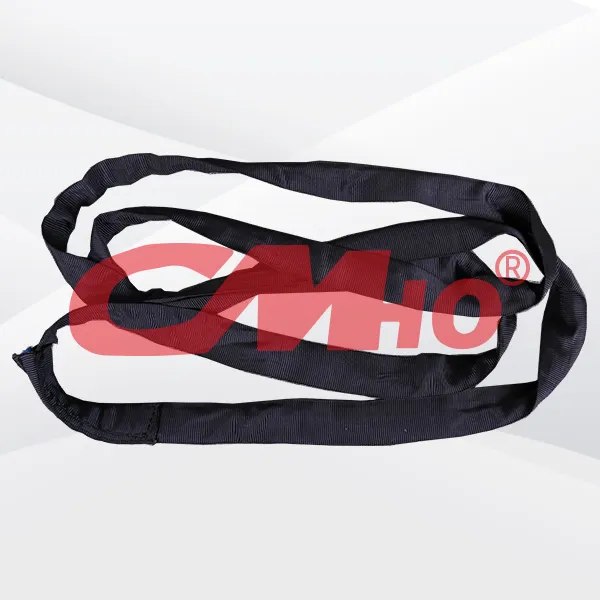
Customizable Sling Belts With "design-on-demand" at their core, customizable sling belts deeply integrate materials science, mechanical principles, and scenario-specific needs, making them i...
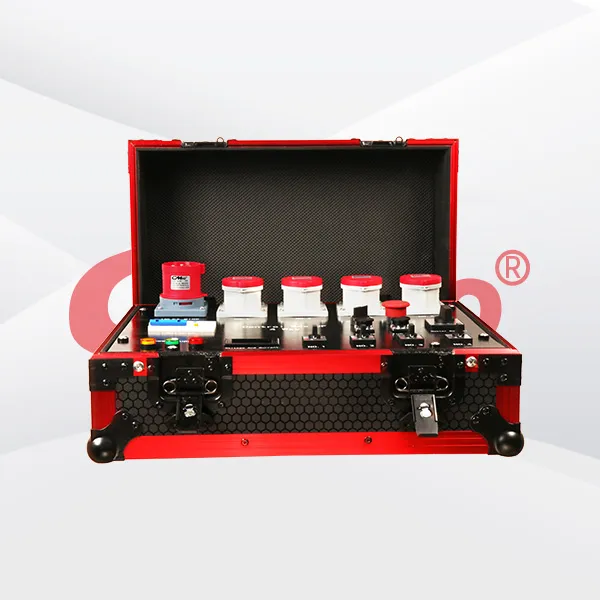
As the "brain" of lifting tools, the performance of truss hoist controllers directly impacts stage effects and operational safety. From manual operation to intelligent linkage, different typ...
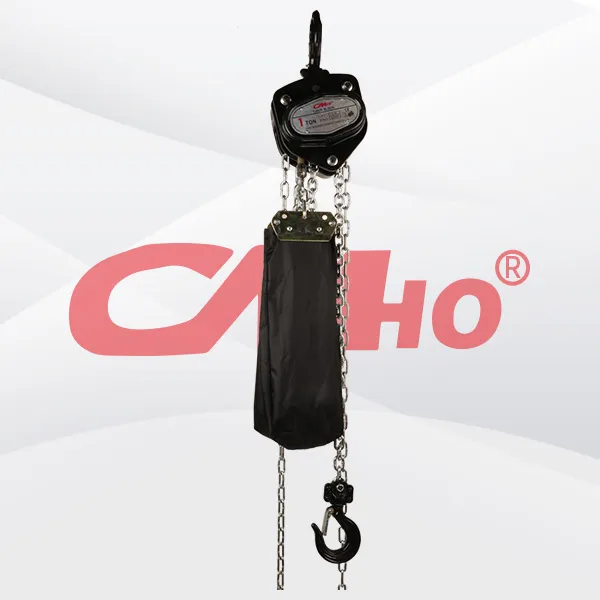
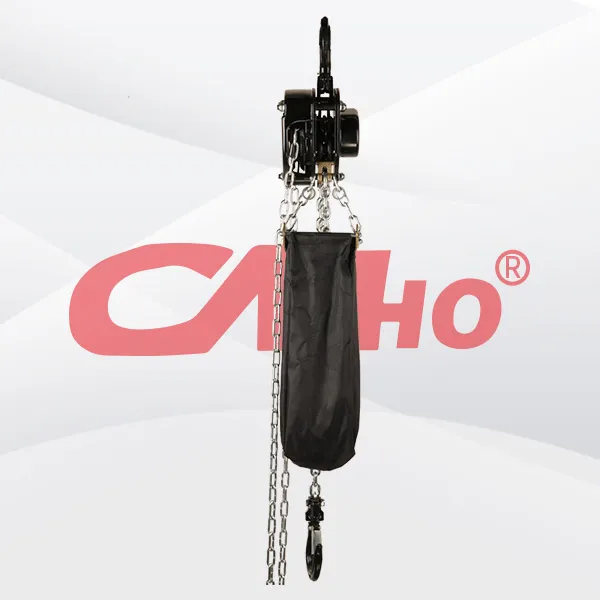
The smooth manual chain hoist, with its reliable mechanical structure and operational flexibility, has become an indispensable manual lifting tool in scenarios such as stages, industrial environments,
Efficiently complete rapid setup of booth trusses, high-altitude suspension of product display racks, or multi-angle display of dynamic advertising light boxes. For example, at a technology exhibition
2025-02-28
创始人
0
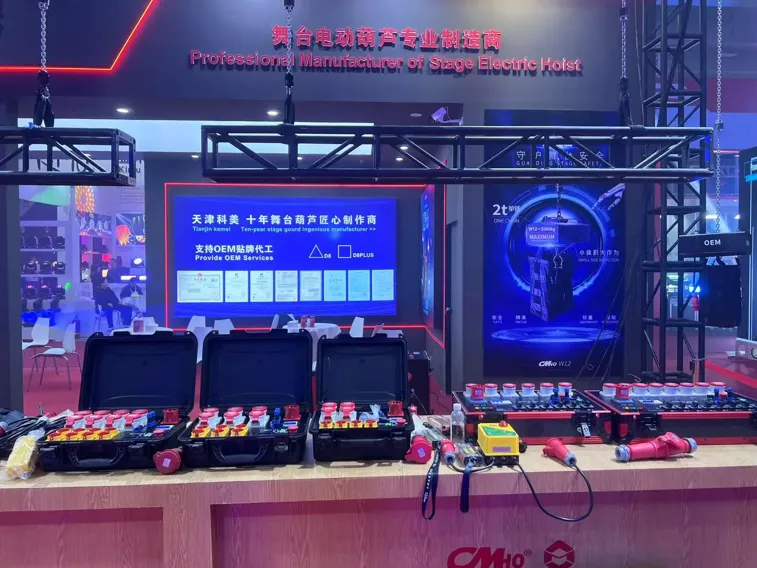
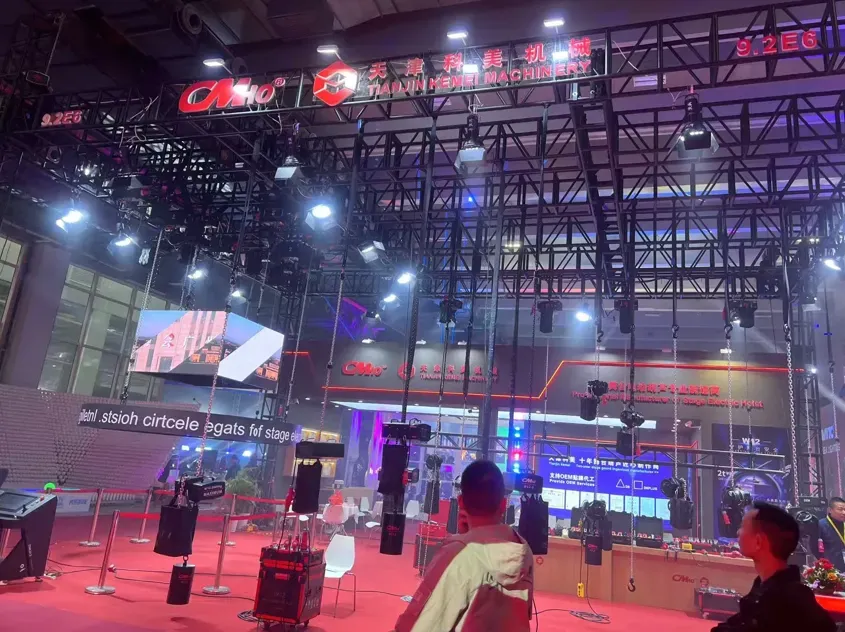
The participation of Tianjin Kemei in the Guangzho...
Tianjin Kemei made a remarkable and eye-catching appearance at the Guangzhou (International) Performing Arts Equipment, Intelligent Acoustic, Optical and Electrical Products...
2025-02-27
创始人
0
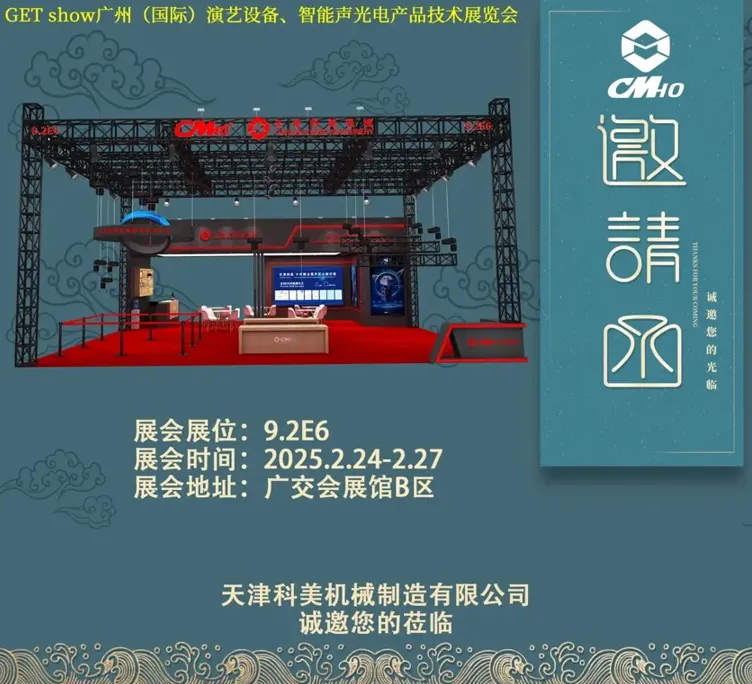
Guangzhou (International) Performing Arts Equipmen...
In the era of the rapid development of stage lifting equipment and intelligent acousto - optic technology, every industry event serves as a crucial opportunity for innovatio...
2025-02-27
创始人
0
GET show Guangzhou (International) Performing Arts...
Tianjin Kemei Machinery Manufacturing Co., Ltd. has been deeply engaged in the stage equipment manufacturing field for many years and has developed into a modern benchmark e...

2024-09-24
admin
0
Tianjin Kemei Machinery Manufacturing Co., Ltd. Ne...
Tianjin Kemei Machinery Manufacturing Co., Ltd.: New Starting Point, New Journey - New Factory Relocation Record